The Resources Lookup field lets users select assets from the Resources module to show inside a database record.
Because the assets come from your platform rather than being uploaded to each record, they keep the same permissions and always show the same version as in Resources. This lets you connect your Resources workflows to your Databases, for example by linking a related contract or asset to a record.
Permissions
This feature connects two modules, Resources and Databases, that have separate permissions. By default:
| Selecting assets | Users can only see and select assets they can at least preview in Resources. If they can't see an asset in Resources, they can't select it from the record. |
| Viewing selected assets | Users can see every selected asset, except those Declined or Pending Approval. The actions they can take match their Resources permissions: if they can only preview a file in Resources, they can't download it from the record. Users who can't preview an asset in Resources only see its thumbnail and name. |
| Record permissions | Record-level permissions still apply. Only users who can view or edit the record can see the selected assets, as with any other field. |
You can also choose to bypass users' Resources permissions for this field.
Setting Up Your Resources Lookup Field
Adding the Field in the Form Builder
The Resources Lookup is an option of the standard Lookup field in the Form Builder.
| 1Open the Form Builder | Go to the Form Builder of the Database you want to add the field to. |
| 2Add a Lookup | Select the Lookup element.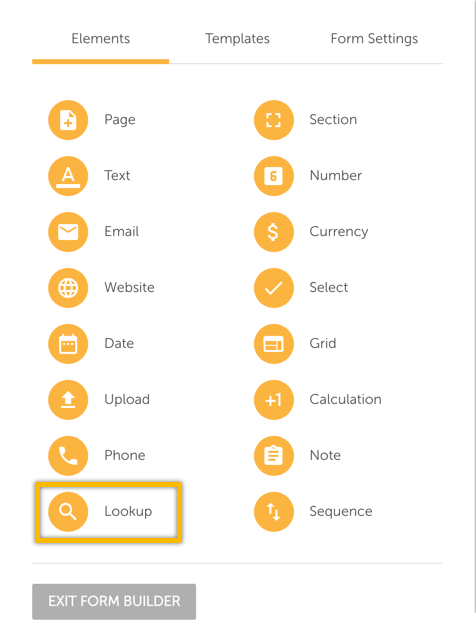 |
| 3Set the type | Enter the field title, then make sure Lookup Type is Lookup Select.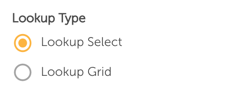 |
| 4Choose Resources | In the Lookup Table, select Resources.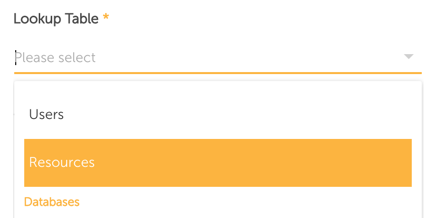 |
| 5Save | Apply any other settings (see below) and click Save & Close. |
Multiple
On by default, so users can select several assets when creating or editing the record. Turn it off (as below) to limit users to a single asset.

Auto-create Related
Automatically creates a related link between each selected asset and the record, once the record is saved. If an asset is later removed from the field, the link is removed too. Users browsing Resources can then jump straight to the record through related, and vice versa.

Bypass User Permissions
To make sure everyone viewing the record can always see details of, or download, the selected files, turn on Bypass User Resources Permission. Then choose the Minimum Granted Permission:
| Minimum Permission | Users Can |
|---|---|
| Info Preview | Open each asset's Info Preview page and see its details. |
| Download | Download the selected assets, and open their Info Preview. |

Anyone viewing or editing the record can then take that action, whatever their Resources permissions. It only affects users who need the bypass, and it applies to every file in the field.
On the Record
Once the field is added, it appears when you add or edit a record. In the screenshot below, it is the highlighted Related Resources field.

Selecting Your Assets
In the Resources Lookup field, click Select Assets (pictured above). The Resources module opens over your record.
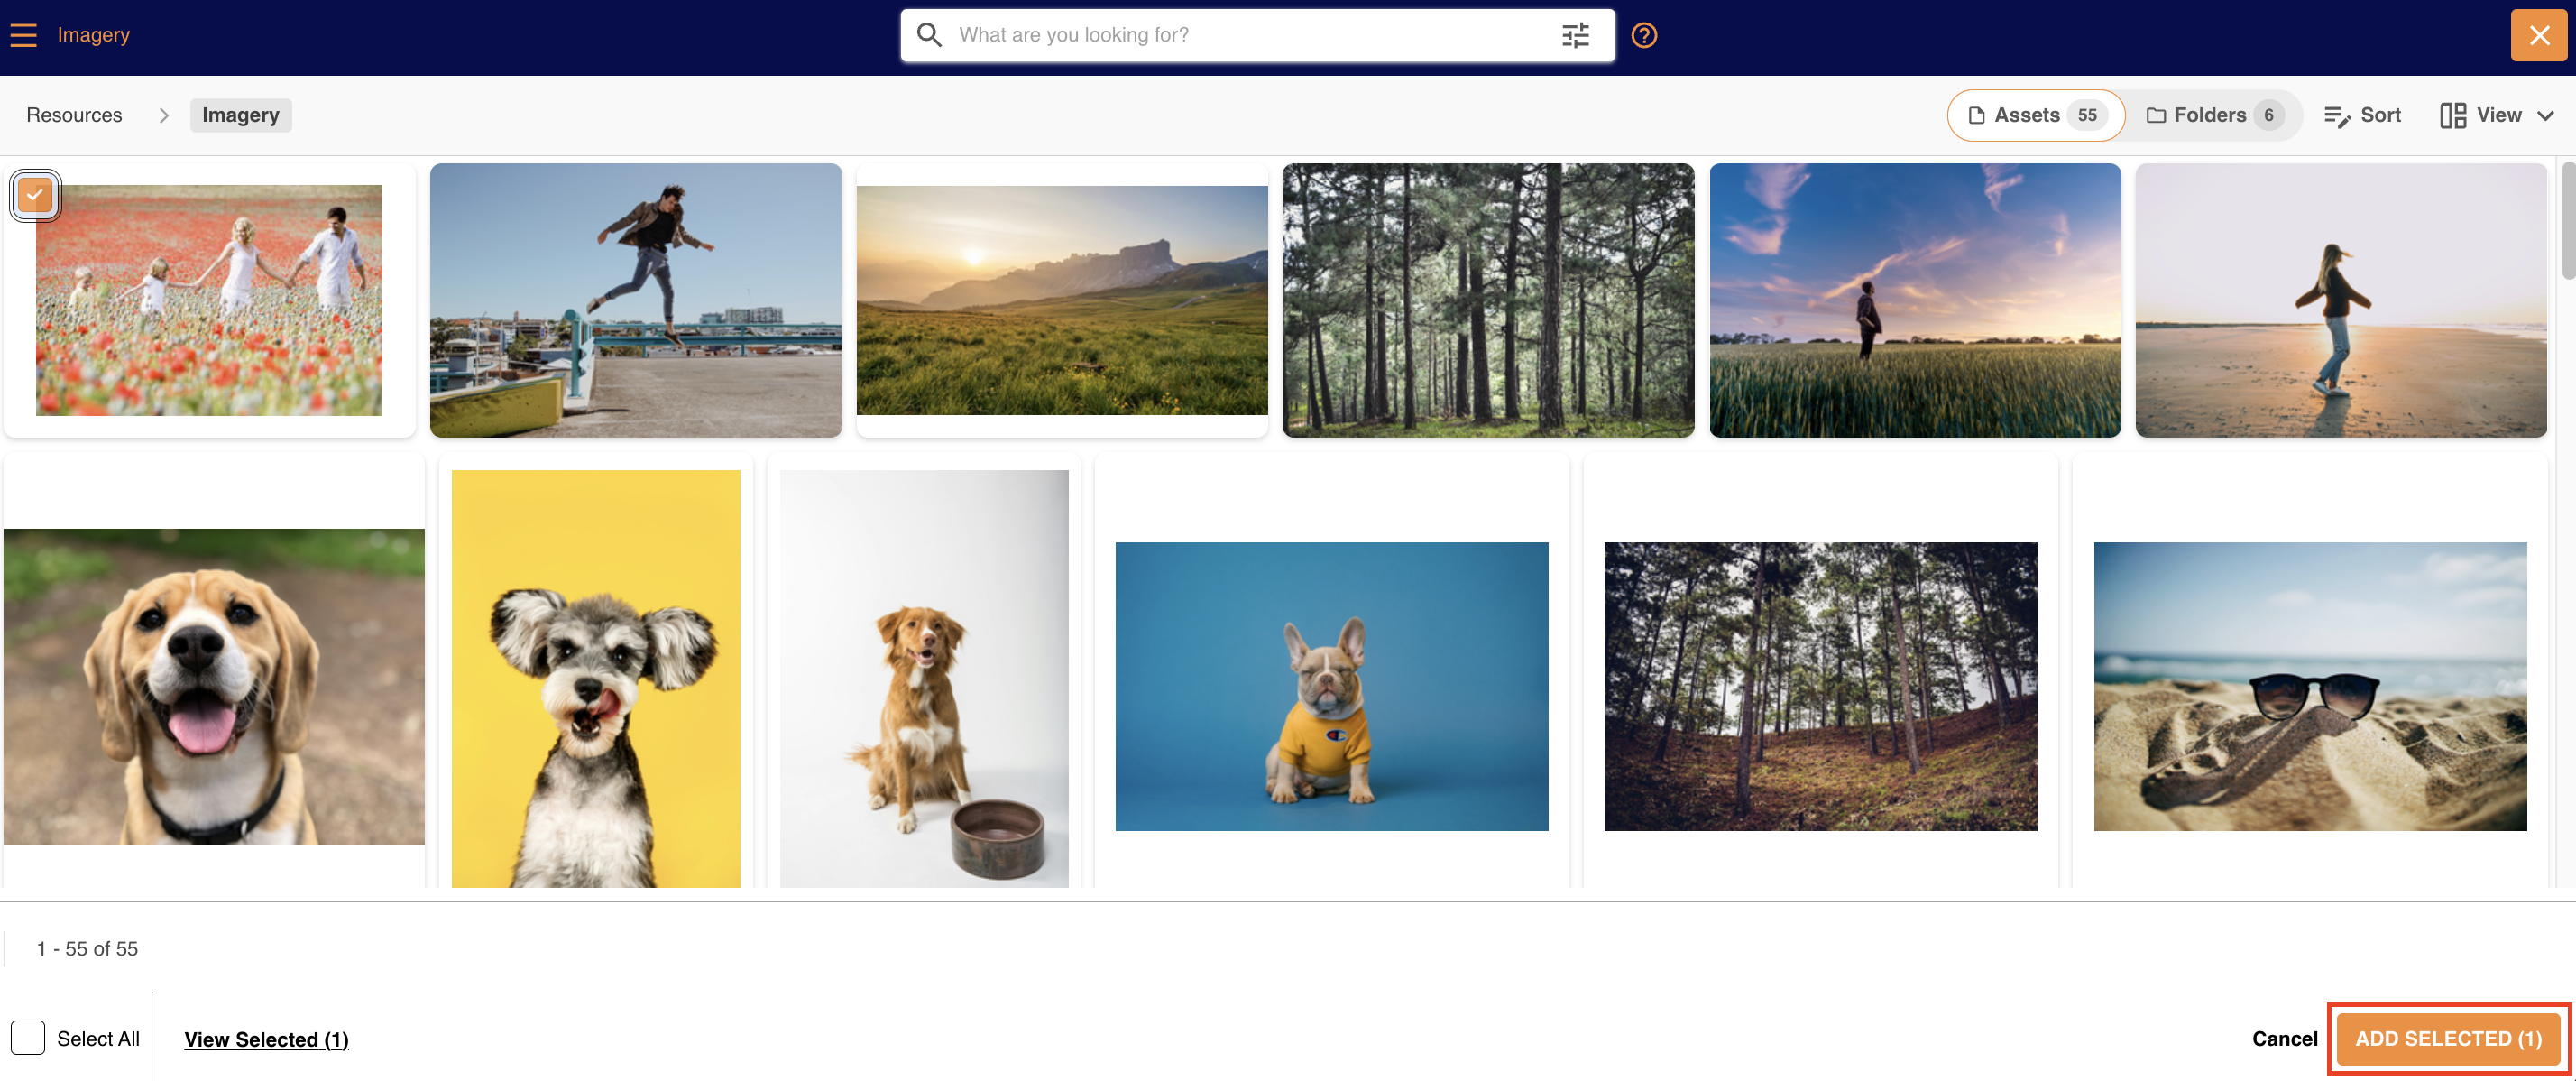
Browse your folders and select the assets you need. You can search, filter, sort and view selected assets just as in Resources, and select assets from several folders at once. You only see the assets and folders you can see in Resources.
Click the select circle on each asset. A button appears at the bottom of the page: Add Selected for the first selection (highlighted below), or Update Selection when adding to existing assets. Click it to add the assets to the record.
Viewing Your Selected Assets
Selected assets show in the record (pictured below). They aren't copied into the database like an Upload field. Each one works like a shortcut to the original: it follows the original's permissions, links to it, and doesn't use extra storage. Your actions depend on your Resources permissions, unless a bypass is set.
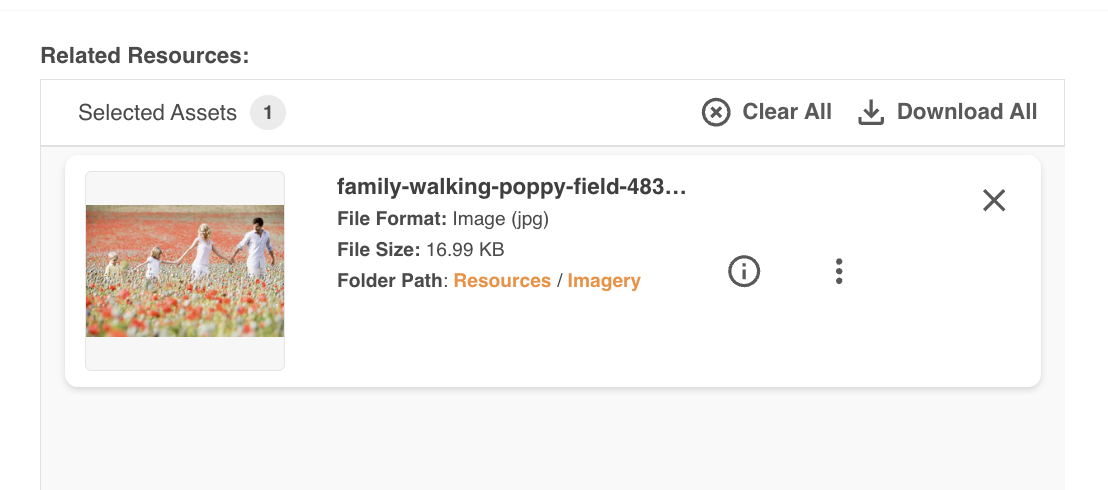
To add more assets, click Select Assets again.
Remove Assets
If you can create or edit the record, you can remove assets from the selection. This isn't available when viewing a record.
To remove one asset, click the small X at its top right. This only removes it from the record; the original asset in Resources isn't affected.
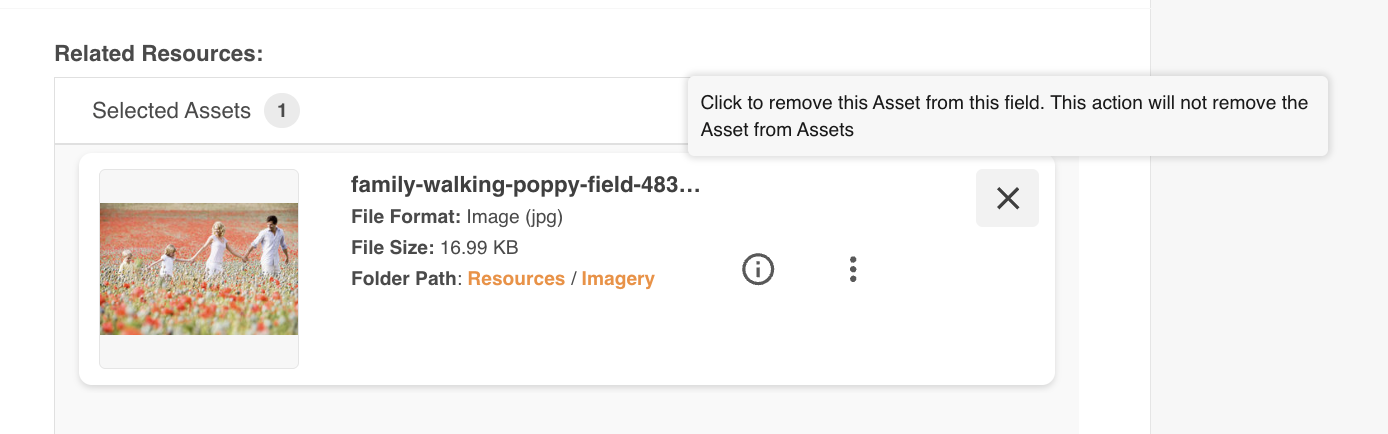
To remove every asset, click Clear All at the top (highlighted below) and confirm. As with other fields, the change applies for everyone who views the record.
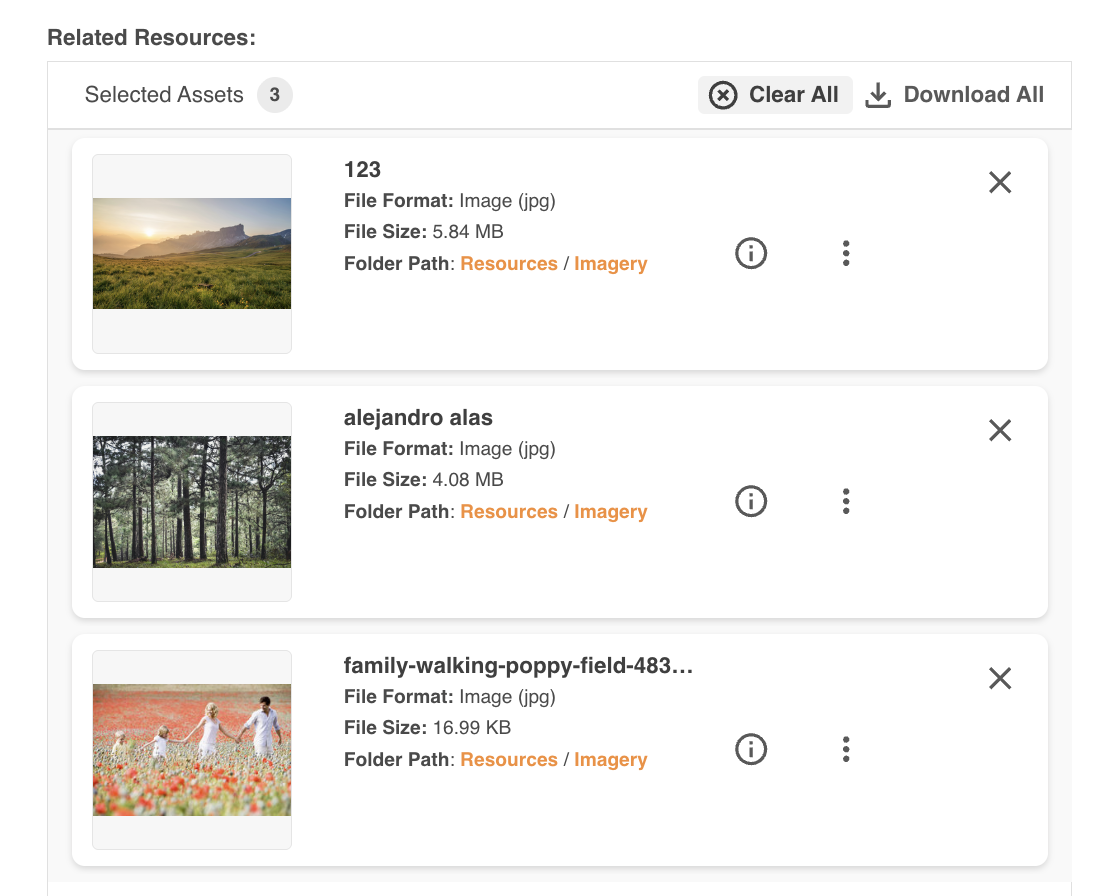
Download Assets
Depending on your Resources permissions, you may be able to download the selected assets. Use the actions on each asset in the list. If you don't see a download action, you don't have permission to download that file.
To download everything at once, click Download All at the top (pictured below).
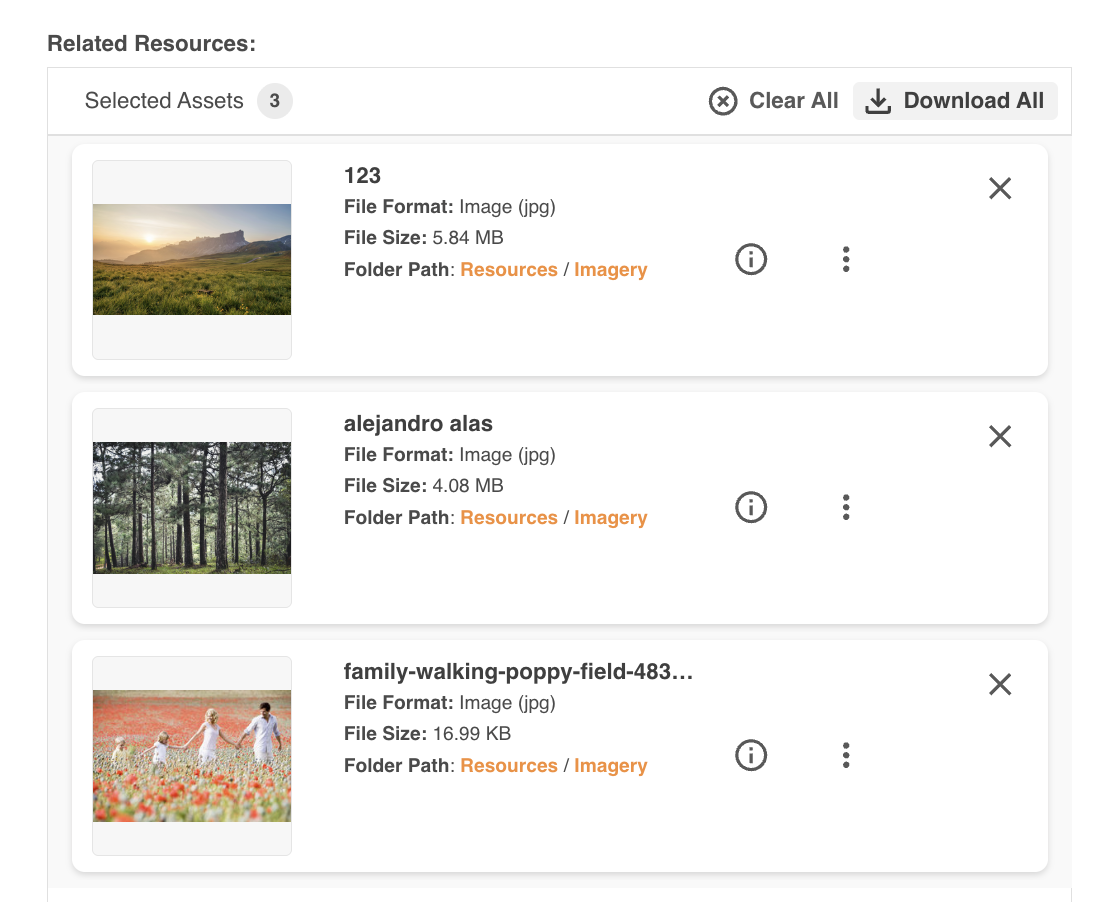
This opens the Resources Bulk Download page, where you can deselect assets and name the zip file before submitting. The zip downloads automatically when it's ready, either straight to your computer or through the Jobs list. Read more about Bulk Download.
Was this article helpful?
That’s Great!
Thank you for your feedback
Sorry! We couldn't be helpful
Thank you for your feedback
Feedback sent
We appreciate your effort and will try to fix the article