Streamline your collaboration processes by Checking Out your assets. A 'Checked Out' asset hides the Edit/New Version, Move, and Delete actions from the view of other users.
Edit/New Version, Move, and Delete actions will only be seen by users who are able to change the status of the asset to 'Checked In.'
This function is available for those with a permission level of Publish or higher.
Table of Contents
Key Benefits
Checking out assets allows you to 'Lock' an asset if, for example, you're making changes to it. You can then check the asset back in once ready. This helps prevent other users from editing, moving, or deleting assets and thus disrupting your workflow.
Another key benefit of the Check Out feature is for assets that are actively publicly shared via CDN Share/Embed links. If, for example, an asset is embedded within your website or a social page, checking out the asset prevents other users from moving or deleting the shared asset, which would otherwise result in broken images on those pages.
It's also possible to set up Auto Check Out for assets that are publicly shared in this manner, which helps to safeguard against broken images. To learn more about this feature, please reference our article here.
How to Check Out an Asset
Checking Out a Single Asset
To check out an asset:
| 1Navigate to the asset | Navigate to the asset you'd like to check out |
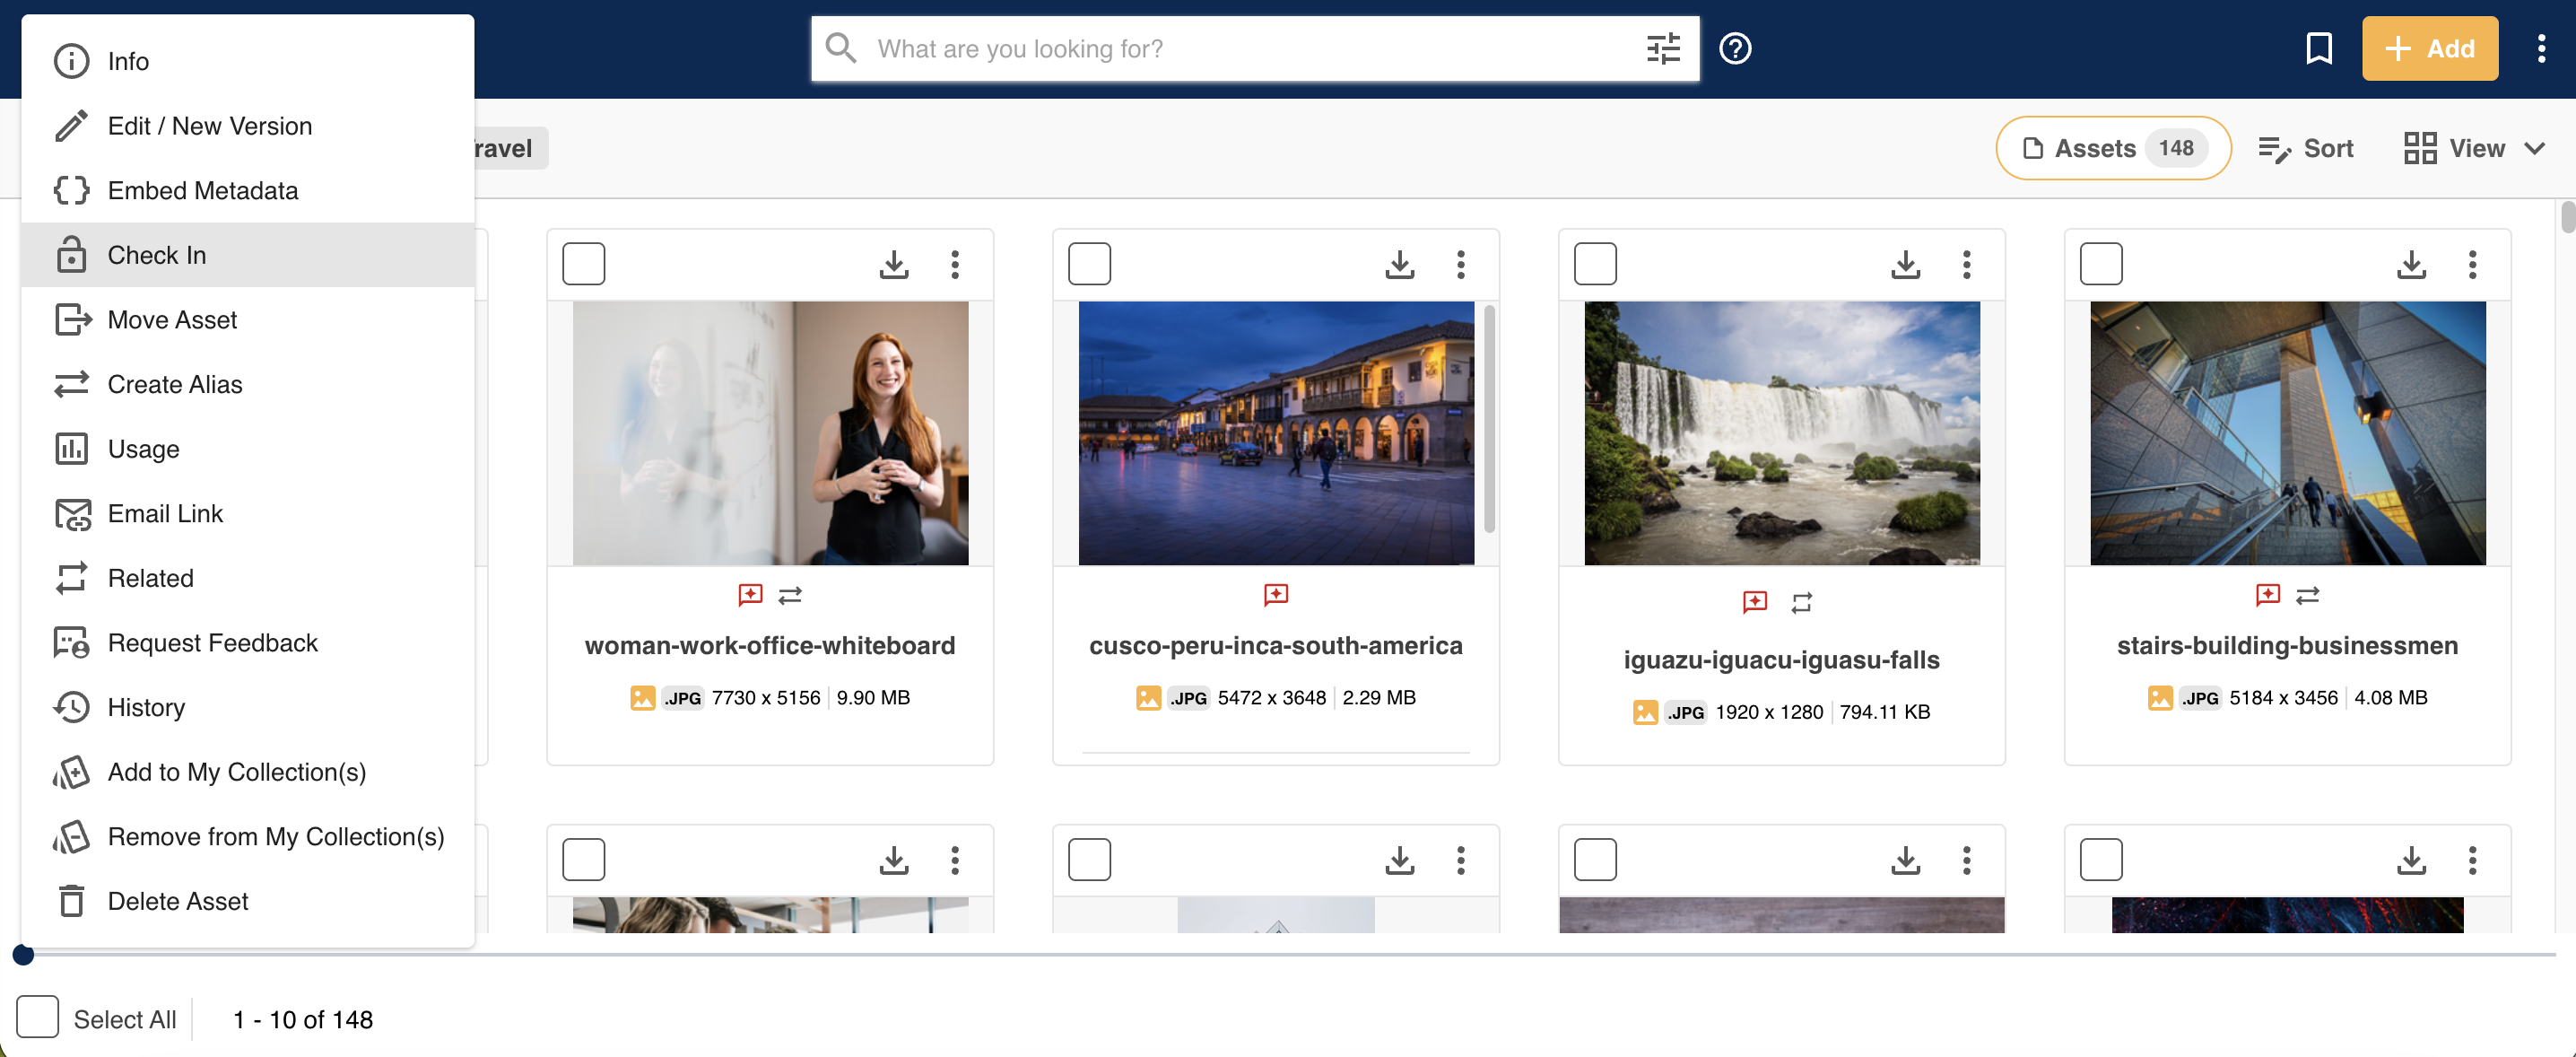
| 2Select Check Out | Select the three vertical dots against the asset, then select Check Out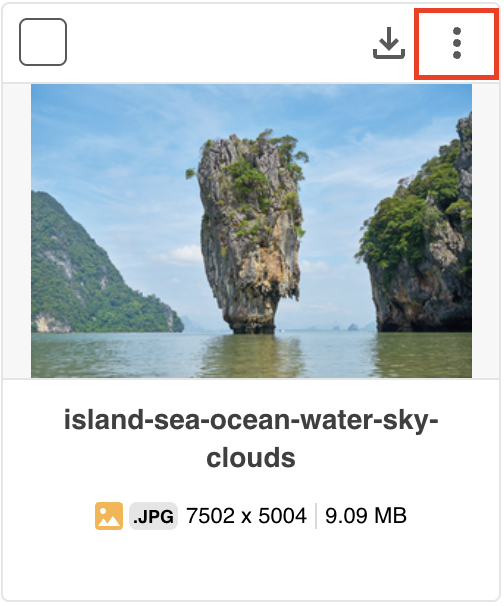 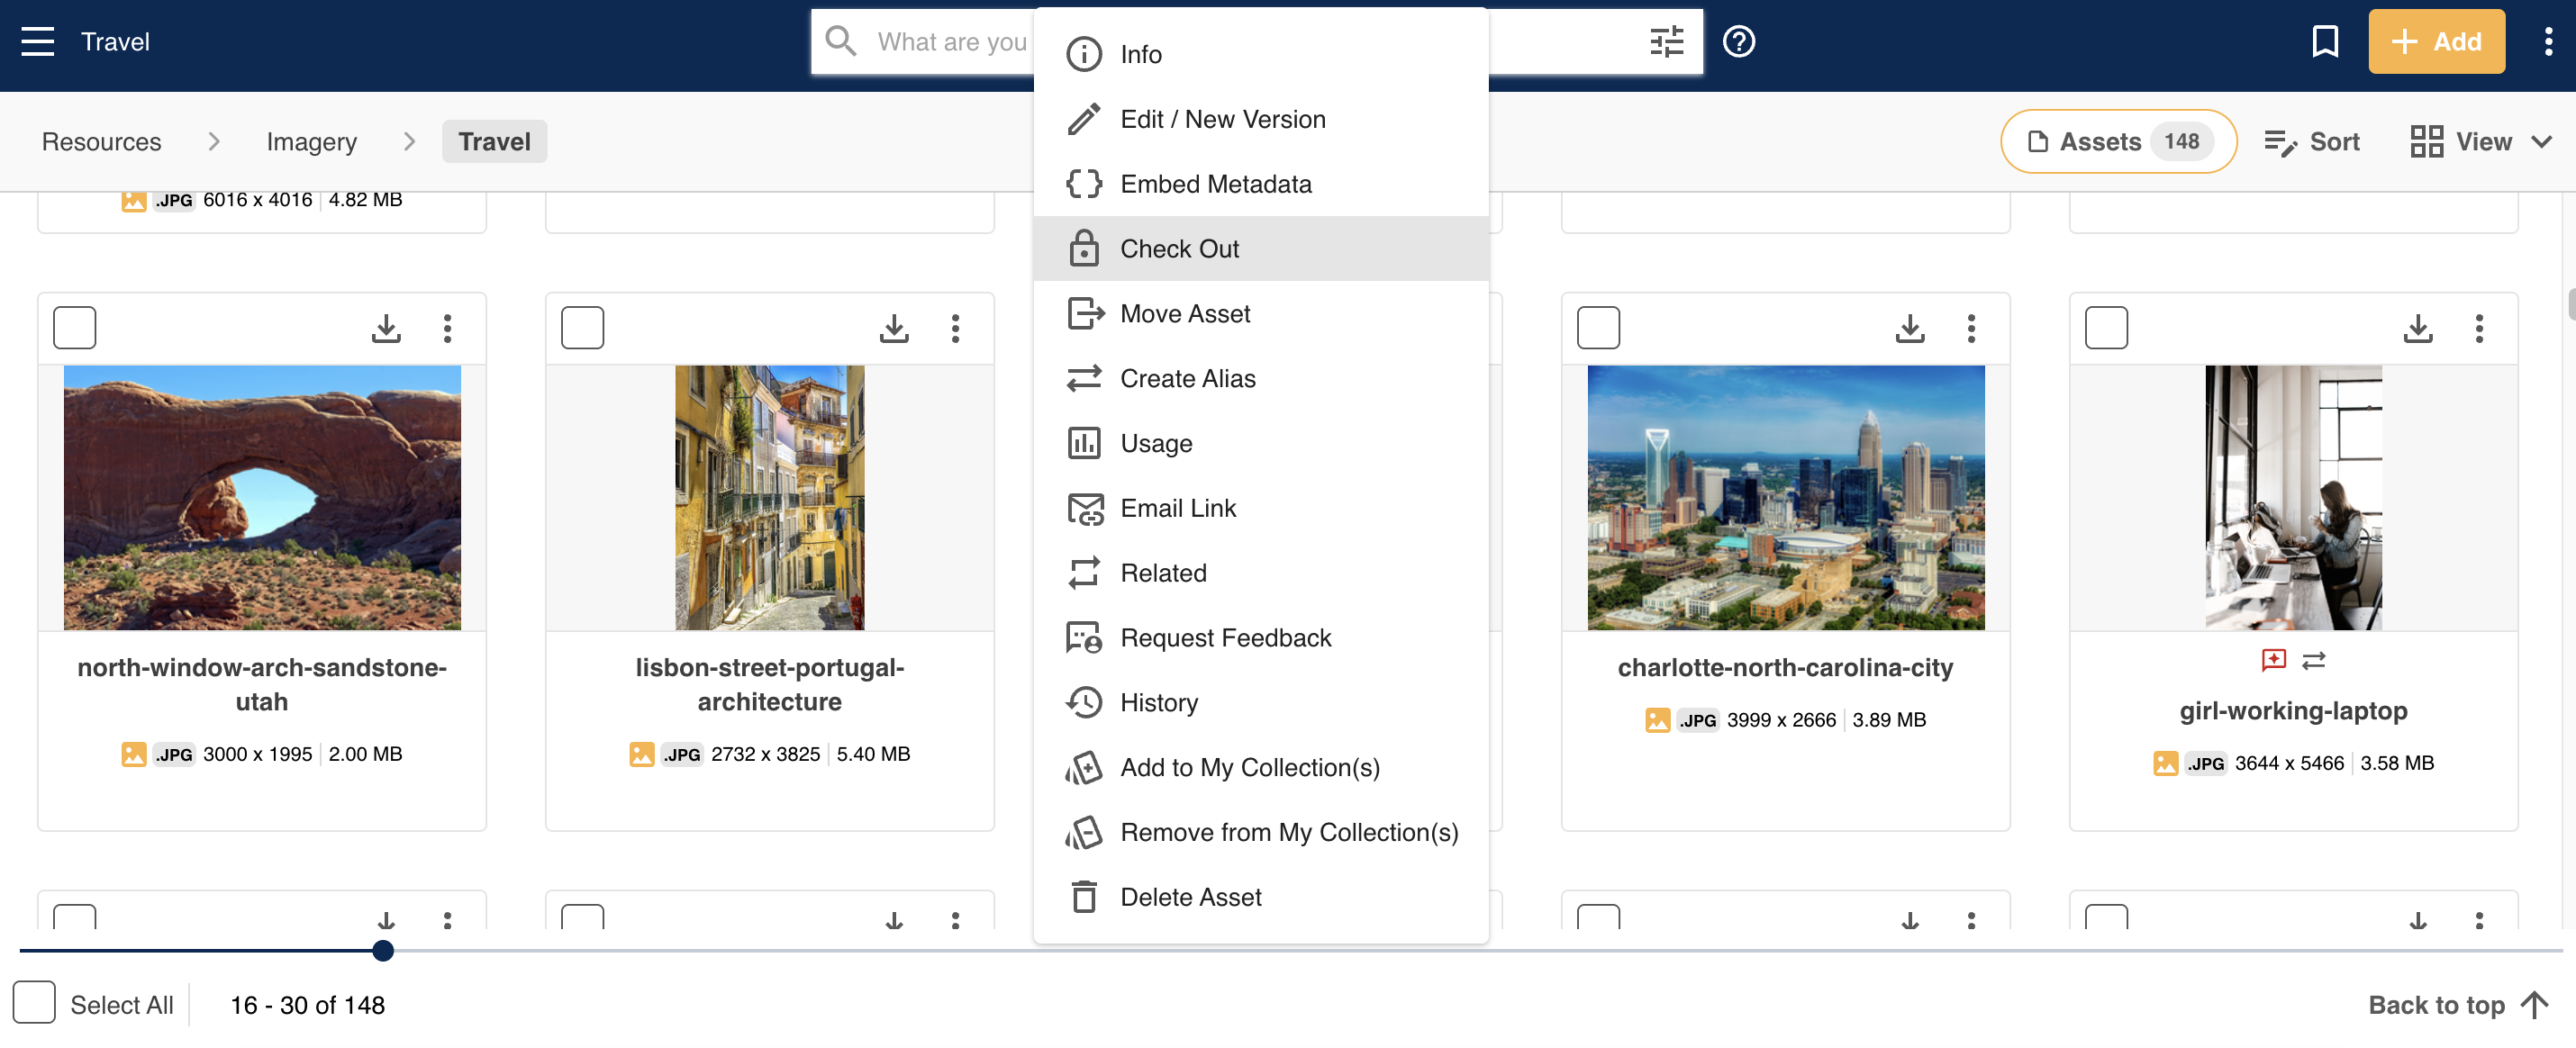 |
| 3Confirm the lock icon | Once the asset has been checked out, it will display a lock icon to indicate that it's been checked out. If you hover over the lock icon, it will display information around who checked it out and when.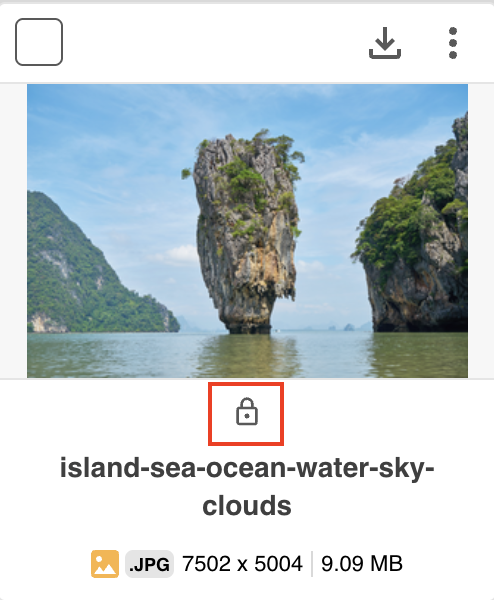 |
Checking Out Assets in Bulk
To check out multiple assets at once:
| 1Select the assets | Select the assets you'd like to check out |
| 2Select Check Out | Then, from the Bulk Actions menu on the bottom of the page, select Check Out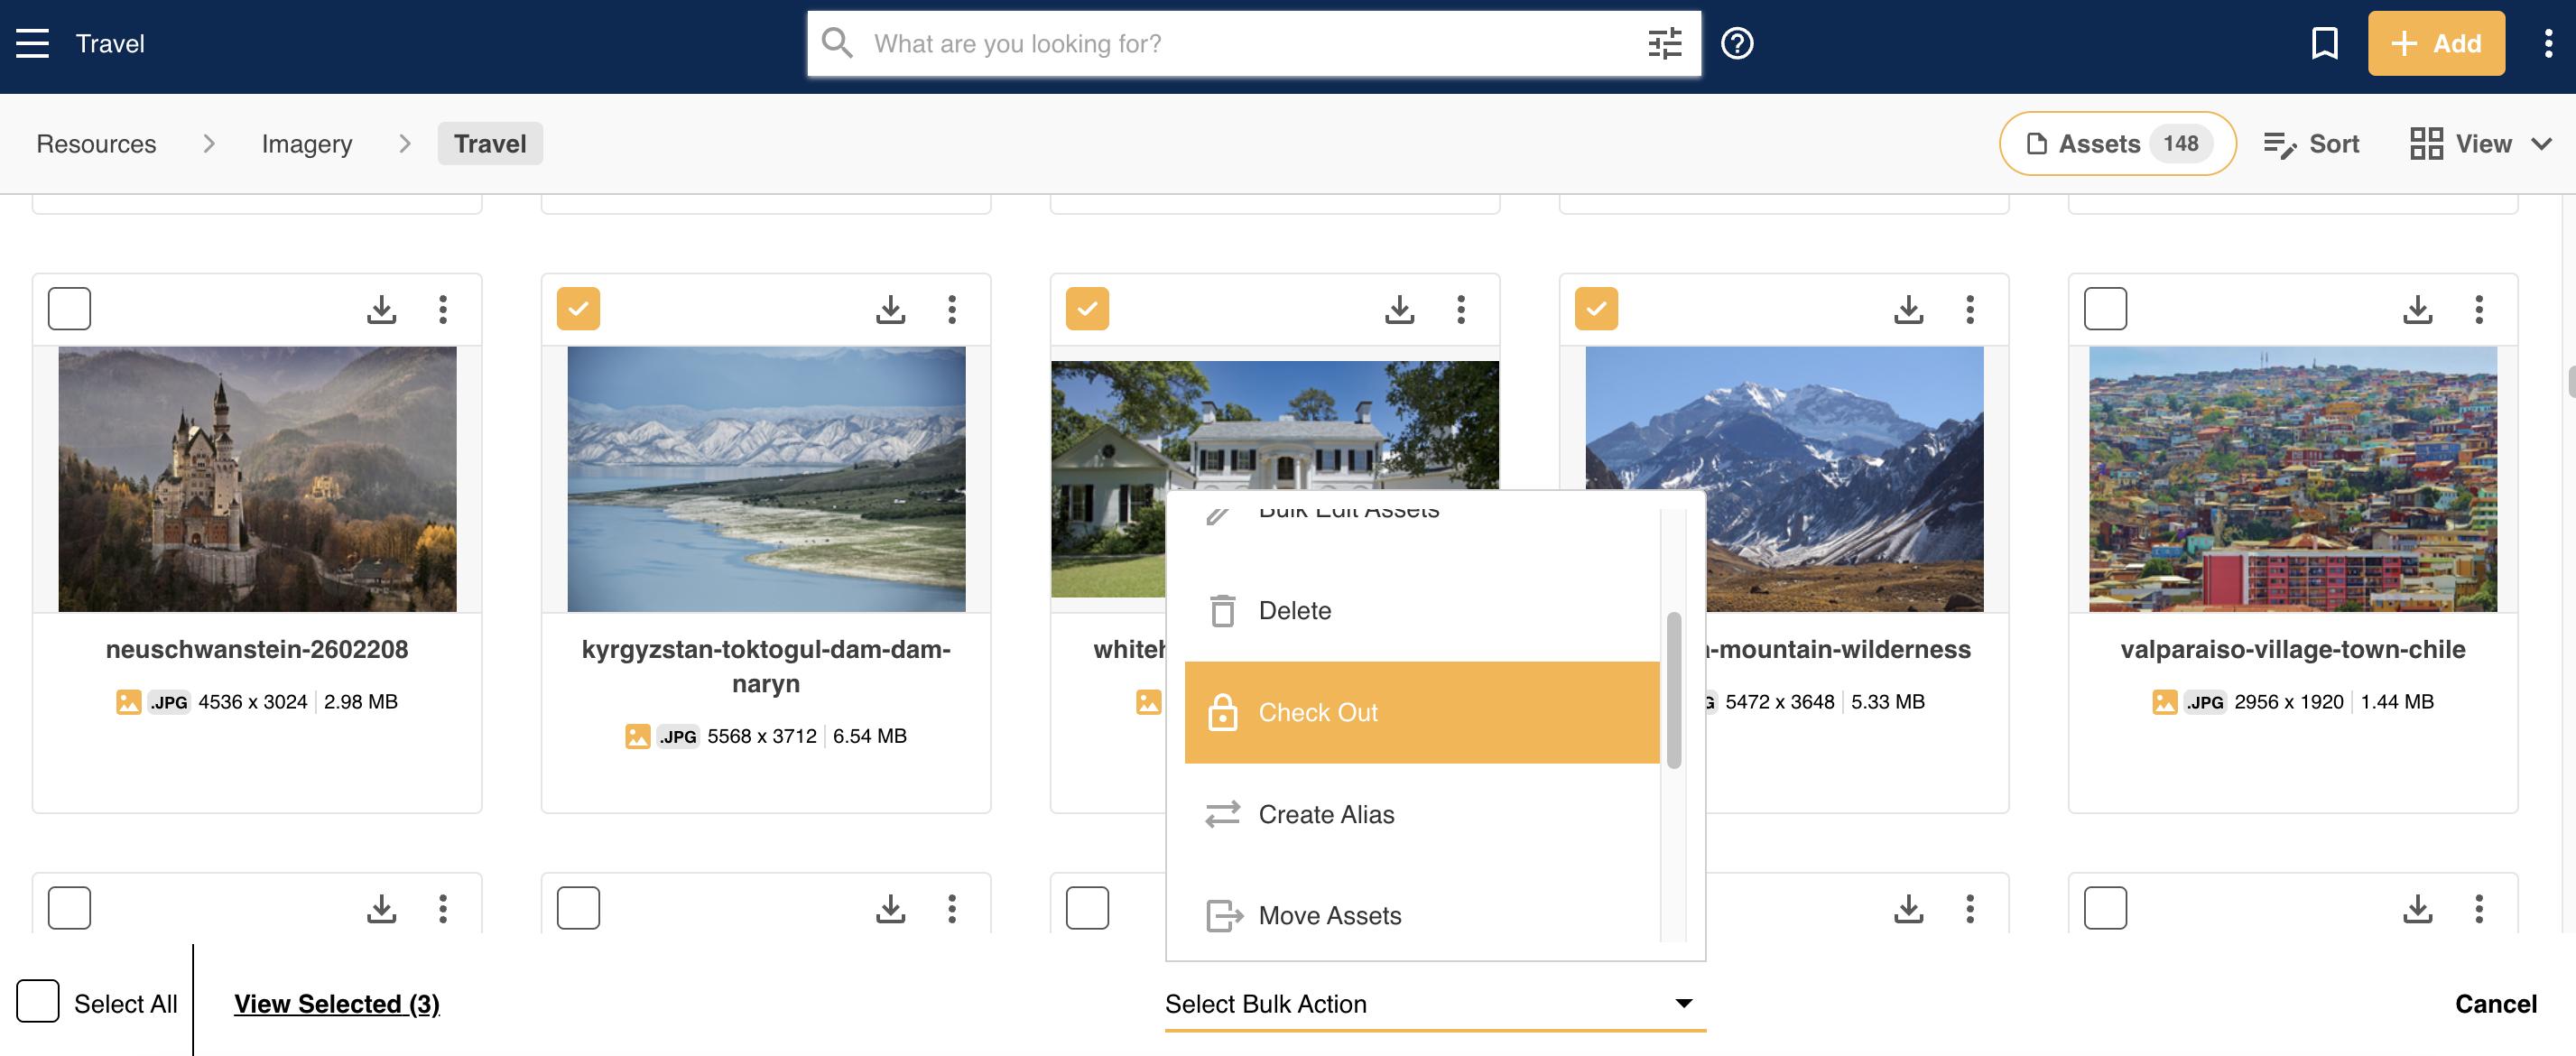 |
| 3Confirm the lock icon | Once the assets have been checked out, they will display a lock icon to indicate that they've been checked out. If you hover over the lock icon, it will display information around who checked it out and when. |
How to Check Assets Back In
To check assets back in (ie: re-enable the Edit, Move & Delete actions for all users who have the correct permissions,) just repeat the steps in the sections above. You will see an action called Check In (instead of Check Out) which you'll select.
Check In Permissions
Main Admins of the platform can decide who is able to Check In your assets in the Admin>Settings>Assets - General section.
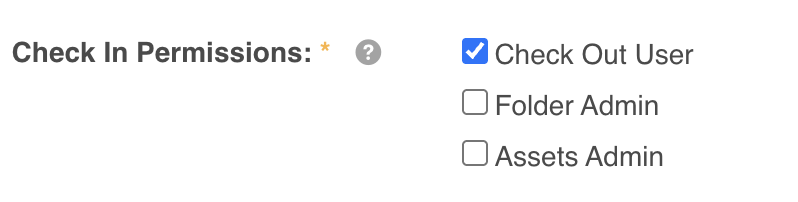
The default option selected is Check Out User, meaning that the user who checks out the asset is the only one who can check it back in, and the only one who can Edit, Move, or Delete it while it's checked out. The other options allow other users (ie: Folder Admins or Assets Admins) to Check In the asset.
Was this article helpful?
That’s Great!
Thank you for your feedback
Sorry! We couldn't be helpful
Thank you for your feedback
Feedback sent
We appreciate your effort and will try to fix the article