Manual image transformations let you add parameters directly to the public sharing URL of an image asset to transform it on the fly. It's a lightweight alternative to building reusable Transformation Presets through the Share / Embed feature.
Table of Contents
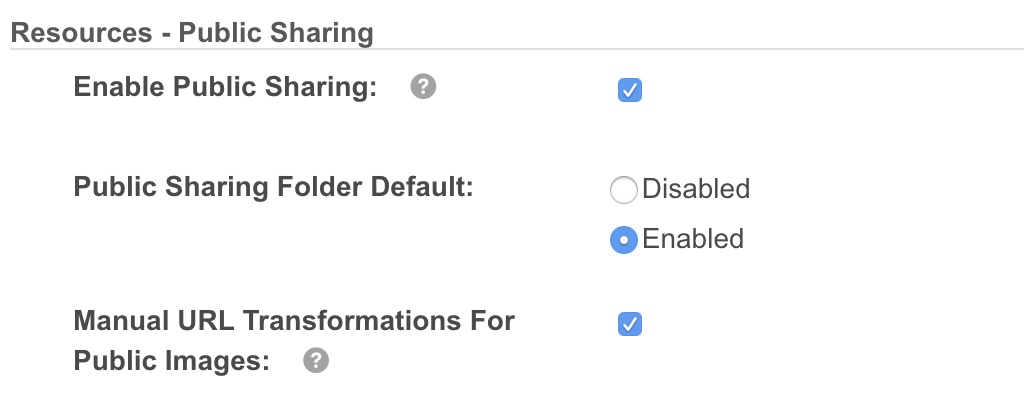
Enabling the Feature
To get started, enable the Manual Image Transformations For Public Images setting under Admin > Settings > Resources - Public Sharing.
Supported Images
Any image asset that supports preview generation can be transformed (see the full list here). Some transformations are restricted for certain file formats, in particular RAW, and not every parameter is available for every format.
The maximum supported file size is 50MB.
The public URL, retrieved for each asset from the Share / Embed action, looks like this:
Parameters are inserted in place of the /original/ portion. Combine multiple parameters with an ampersand (&).
Supported Transformation Parameters
Parameters are processed in the order they appear in the URL. Each section below lists the accepted values and a worked example.
Extension (ext)
Converts the source image to one of the following destination formats.
Accepted values: jpeg, jpg, bmp, gif, png, webp
Example - convert the image to PNG:
The desired extension can also be added to the name portion at the end of the URL:
Size (size)
Resizes the original image. Any cropping must be applied separately (see Crop below).
- Accepted values: WidthxHeight, Width, xHeight, or Xpercent.
- &ignore - ignore the aspect ratio and match the exact dimensions.
- &nolarge - ignore the aspect ratio but never enlarge the image.
Example - resize to 50% of the original:
Example - resize to 500 width:
Example - resize to 500 height:
Example - resize to 500 width x 500 height:
Crop (crop & cropgravity)
Crops the image to a set area. The entire cropped area must sit within the image - cropping an area positioned outside the image is not currently supported.
- crop={Width}x{Height}a{HorizontalStartPoint}a{VerticalStartPoint} - sets the crop size and an optional custom start position. The start position begins at (0,0), the top left corner, which is the default if no position is supplied. For example, (100,100) starts the crop 100 pixels to the right of the top left corner and 100 pixels down.
- cropgravity= center, east, northeast, north, northwest, south, southeast, southwest, west, or auto (for automatic focal point detection).
Example - crop 100x100 starting 10 pixels right and 10 pixels down from the top left corner:
Example - crop 100x100 from the center right of the image:
Example - crop 100x100 with automatic focal point detection:
Extent (extentbackground & extentgravity)
When the image or cropped area is smaller than the desired output size, you can extend the output and fill the missing space with a background color. This is also useful for creating a border.
- extent={Width}x{Height} - the size of the extended canvas.
- extentbackground= any common color name (e.g. skyblue), or an rgb / rgba color code.
- extentgravity= center, east, northeast, north, northwest, south, southeast, southwest, or west - the position of the image on the enlarged canvas.
Example - resize to 500 x 500, then create a 550 x 550 canvas with a black background and the image centered on it:
Rotate (rotate)
Rotates the image clockwise.
Accepted values: 0 to 360.
Example - rotate the image 90 degrees to the right:
Flip (flip)
Flips the image horizontally, vertically, or both.
Accepted values: hor (horizontal flip), ver (vertical flip).
Example - flip horizontally and vertically:
Quality (quality)
Sets the output quality. Only applies to the jpg, jpg2, bpg, djvu, djv, icer, jbig2, pgf, jxr, hdp, and wdp formats.
Accepted values: 1 to 100 (100 = original quality).
Example - change quality to 50%:
Compression Type (compresstype)
Sets the pixel compression used when writing the image.
Accepted values: B44, B44A, BZip, DWAA, DXT1, DXT3, DXT5, Fax, Group4, JBIG1, JBIG2, JPEG, JPEG2000, Lossless, LosslessJPEG, LZMA, LZW, None, Piz, Pxr24, RLE, Zip, RunlengthEncoded, WebP, ZipS, Ztsd.
Example - change the compression type to LosslessJPEG:
Color Space (colorspace)
Sets the color space of the output image. Color spaces are not applicable to all file types.
Accepted values: CIELab, CMY, CMYK, Gray, HCL, HCLp, HSB, HSI, HSL, HSV, HMB, Lab, LCH, LCHab, LCHuv, LinearGray, LMS, Log, Luv, OHTA, Rec601YCbCr, Rec709YCbCr, RGB, scRGB, sRGB, Transparent, xyY, XYZ, YCbCr, YDbDr, YCC, YIQ, YPbPr, YUV.
Example - change the color space to Gray:
For more information, visit the ImageMagick website.
Density (density)
Sets the horizontal and vertical resolution of an image for rendering to devices.
Accepted values: 1 and above.
Example - change the resolution to 72 dpi:
Things to Note
- SVG and the majority of RAW formats only support the ext parameter.
- quality only supports the jpg, jpg2, bpg, djvu, djv, icer, jbig, pgf, jxr, hdp, and wdp extensions.
- When a parameter is not supported, it is skipped.
- When a parameter is entered incorrectly, an error page appears.
- Parameters are order sensitive and are processed successively in the order they appear in the URL.
About Transformations & Public Sharing
Image Transformations is an optional add-on that needs to be enabled on your platform as part of the Public Sharing feature set. It comes with a default monthly allowance covering 200GB of data transfer, 1,000 transformations, and 1,000 invalidations per month.
Definitions
| Image transformation | Happens the first time an image is transformed with one of the manual parameters above. The asset is then cached on the Cloudfront CDN, and that version is always retrieved from there. A new transformation is only required if the image is requested again after it has been invalidated from Cloudfront. |
| File invalidation (recall) | Happens when a public asset, or any of its transformations previously distributed via Cloudfront, is deleted, moved to a different folder (the public link is tied to the folder ID), updated with a new file or version, or when public sharing is disabled on the parent folder. Once an asset is loaded by Cloudfront, there is no contact with the platform to check whether it is still available or has been updated, so invalidation clears out these public versions. The next time the asset is requested, Cloudfront goes back to the platform to fetch it and confirms whether it is still available for public sharing and whether a new version exists. |
Need Help?
Contact your Customer Success Manager to learn more about Image Transformations and Public Sharing, or submit a request directly from the Helpdesk Center.
Was this article helpful?
That’s Great!
Thank you for your feedback
Sorry! We couldn't be helpful
Thank you for your feedback
Feedback sent
We appreciate your effort and will try to fix the article