Database Filters allow users to quickly and easily filter records either across all databases or within a specific database.
Filtering makes it easier for users to find the specific briefs, tasks, projects, etc that they need to focus on. This is particularly helpful if for example, users want to see just the tasks they are assigned to, or briefs that have been created within a specific date range.
How to Filter Records
To filter database records:
| 1 | Navigate to the Databases area of the platform. |
| 2 | Users can filter records either in the global/overall database view (where all relevant records across all databases will be displayed) or within a specific database. Click into a specific database if you just want to focus on those records. |
| 3 |
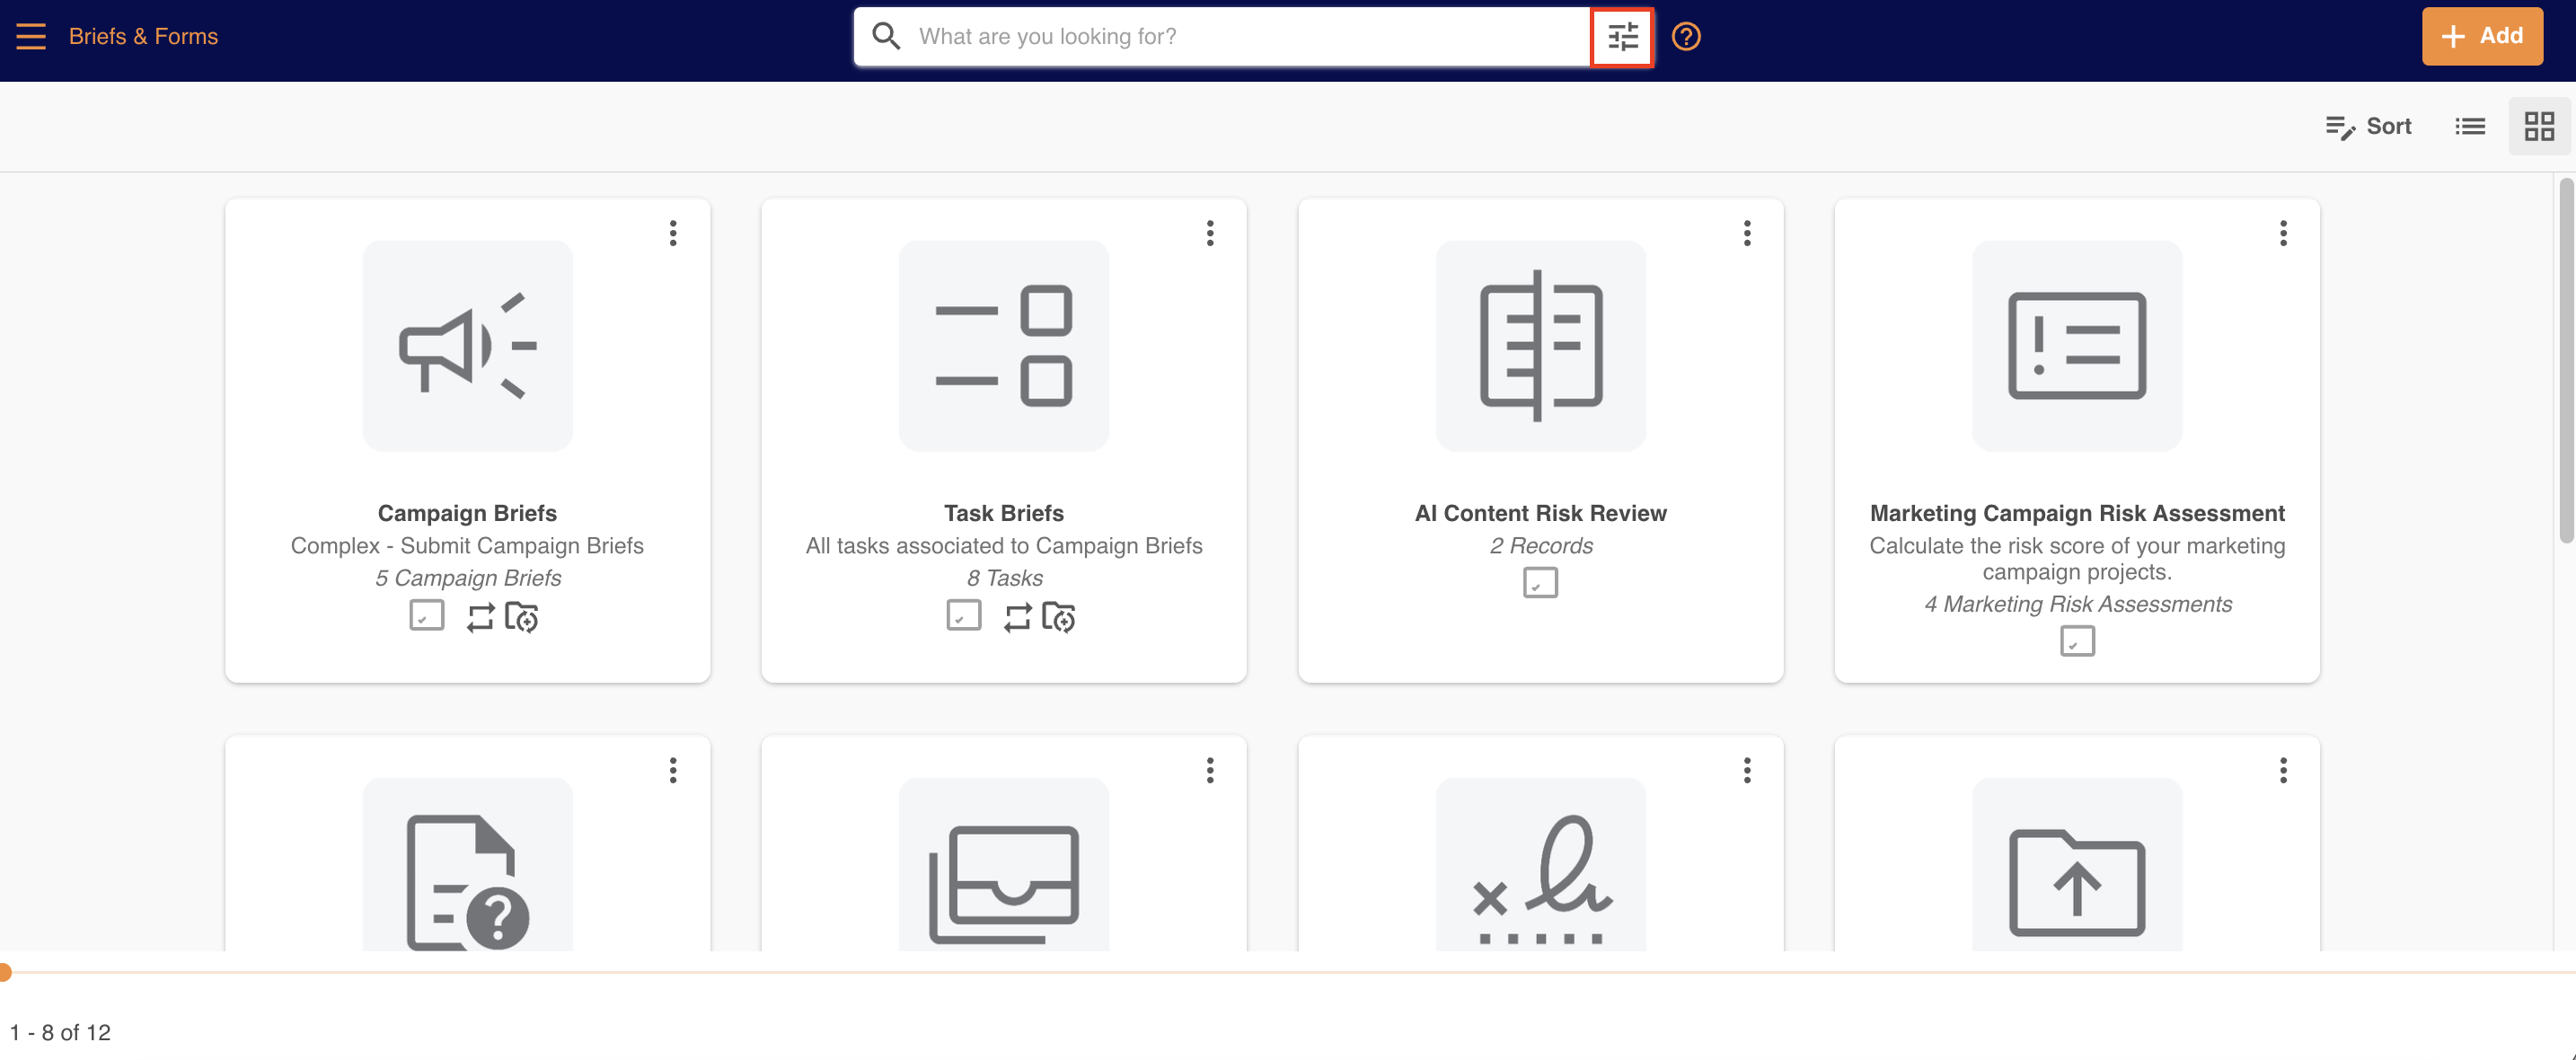
Select the filter icon in the right of the search bar.
|
| 4 |
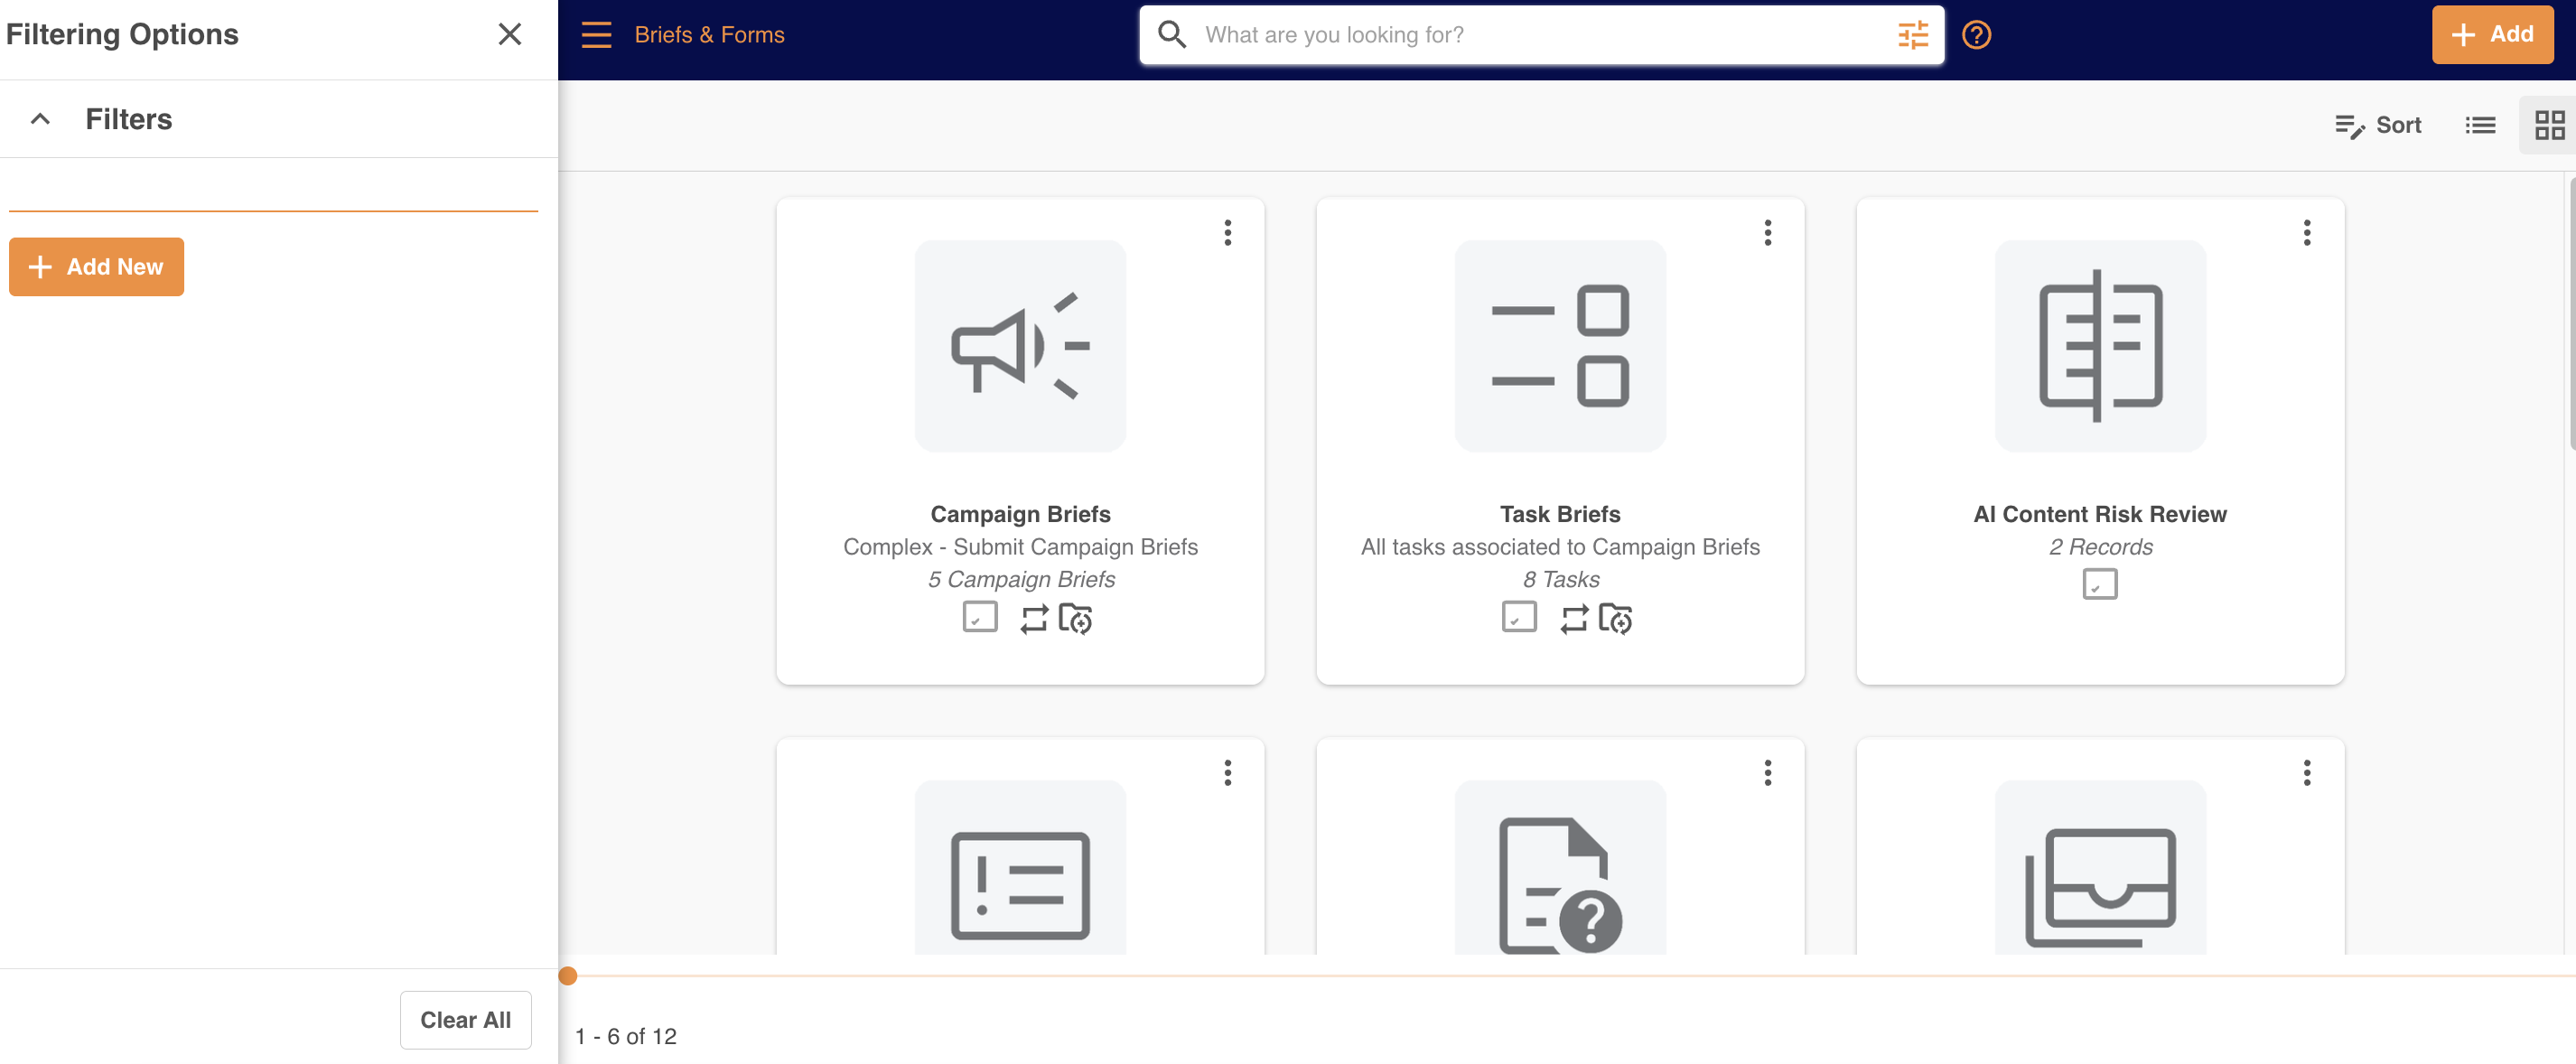
This will open up the filters panel on the left hand side of your screen. Select + Add New to build a new filter. Note that if users open the filter panel within a specific database, they may see some "pre-configured" fields to filter by (see Default Filters section below).
|
| 5 |
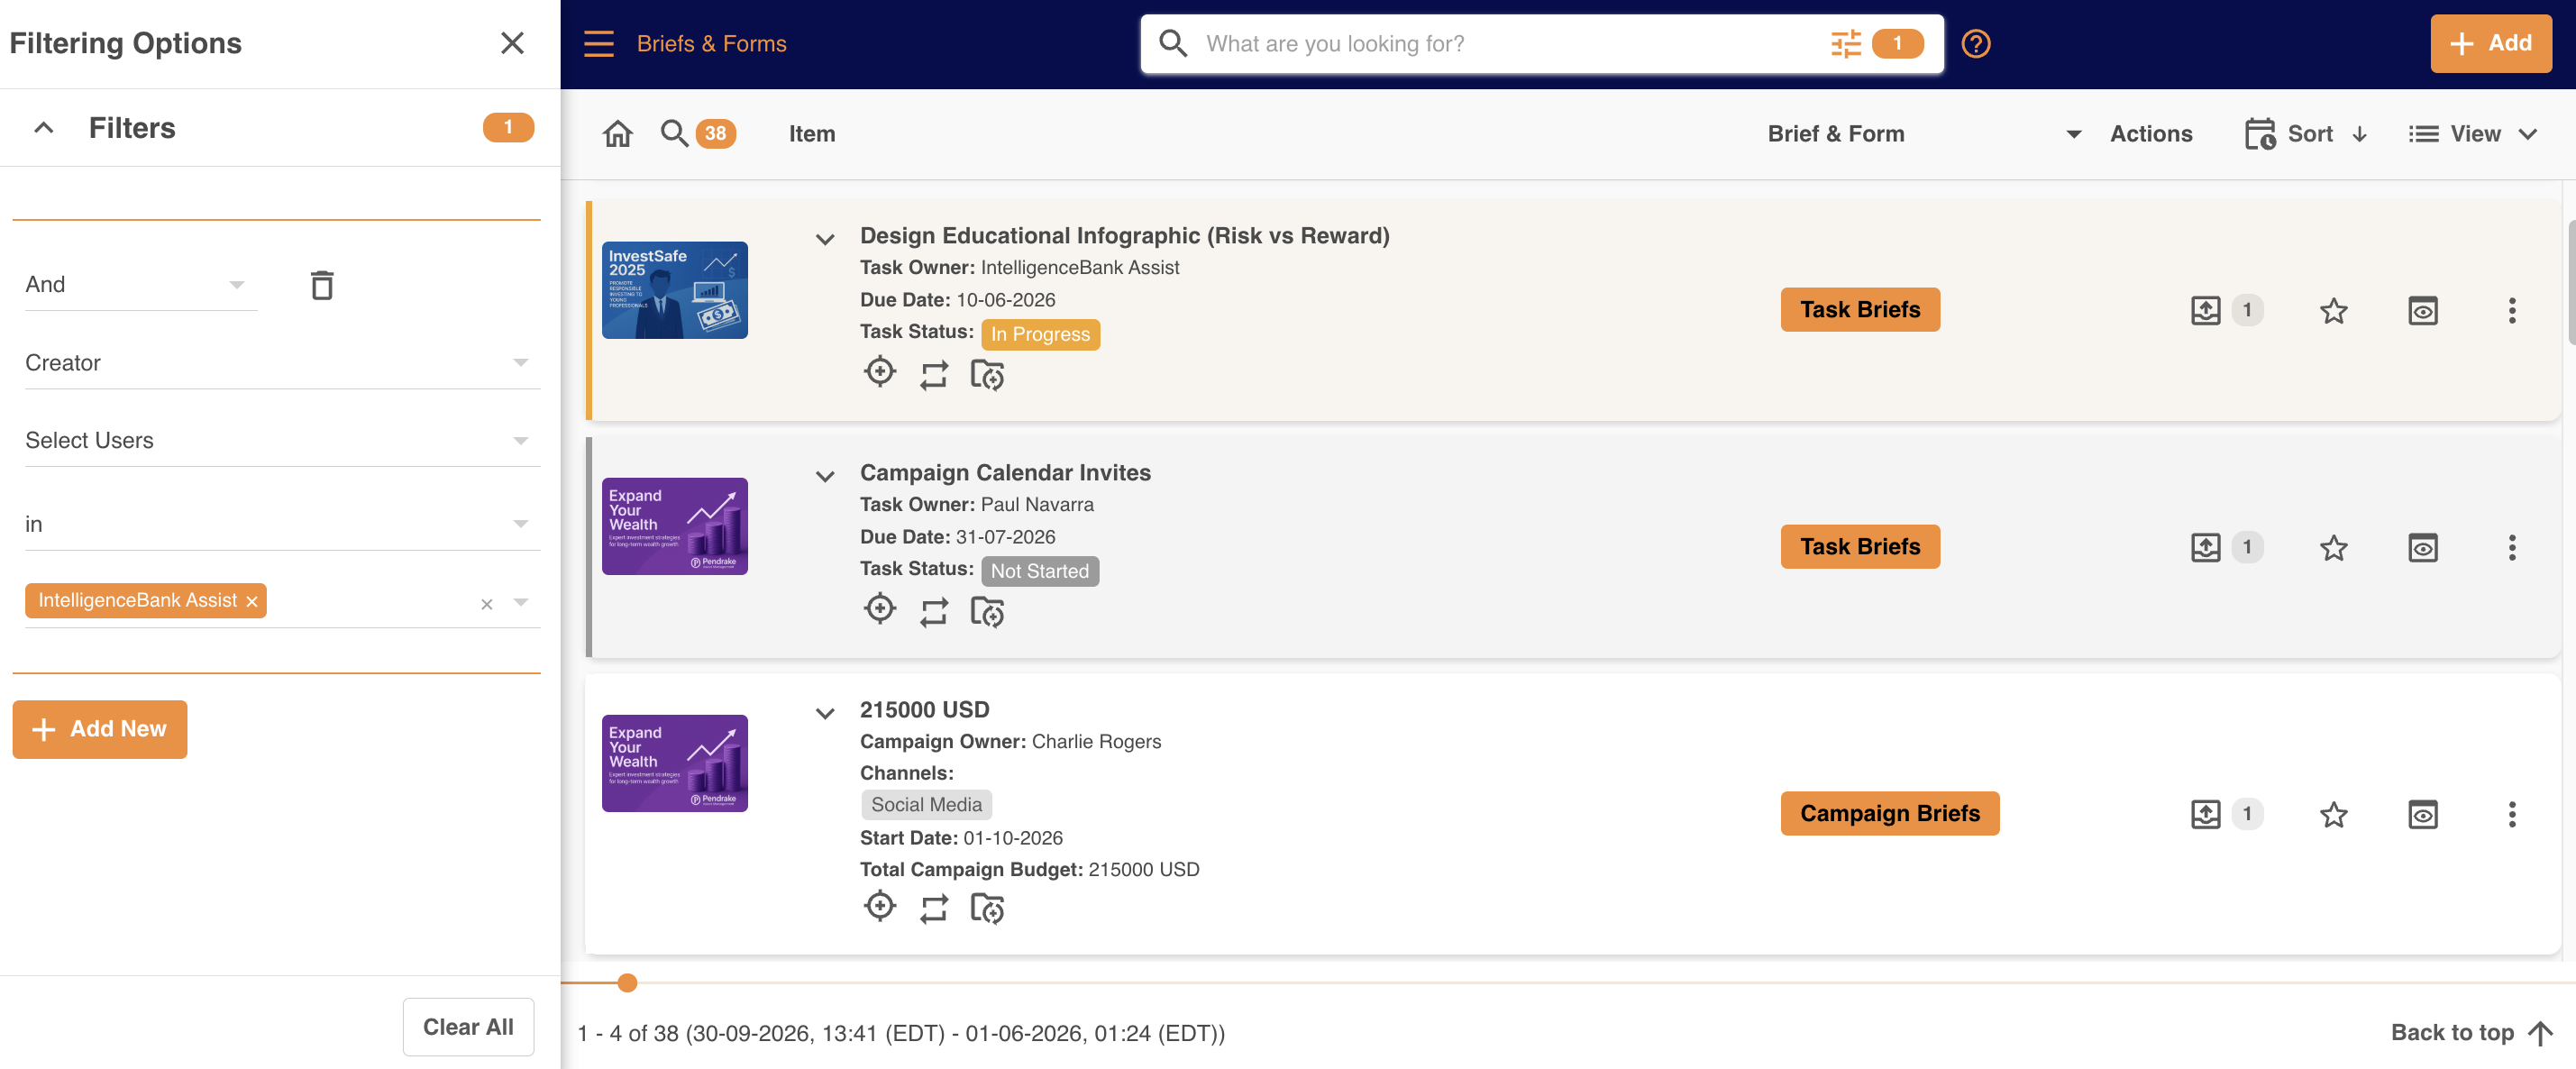
To add filters, use the dropdown menus to select the fields and relevant values that you wish to filter the records by. As you add filters, the results will immediately appear on the right side of the screen. If you apply a filter on a global level (ie: not in a specific database,) the filtered records will display which database each record resides in.
|
| 6 | You can also add multiple filters using And/Or logic to display records across multiple criteria (ie: records added by a particular user within a particular date range). |
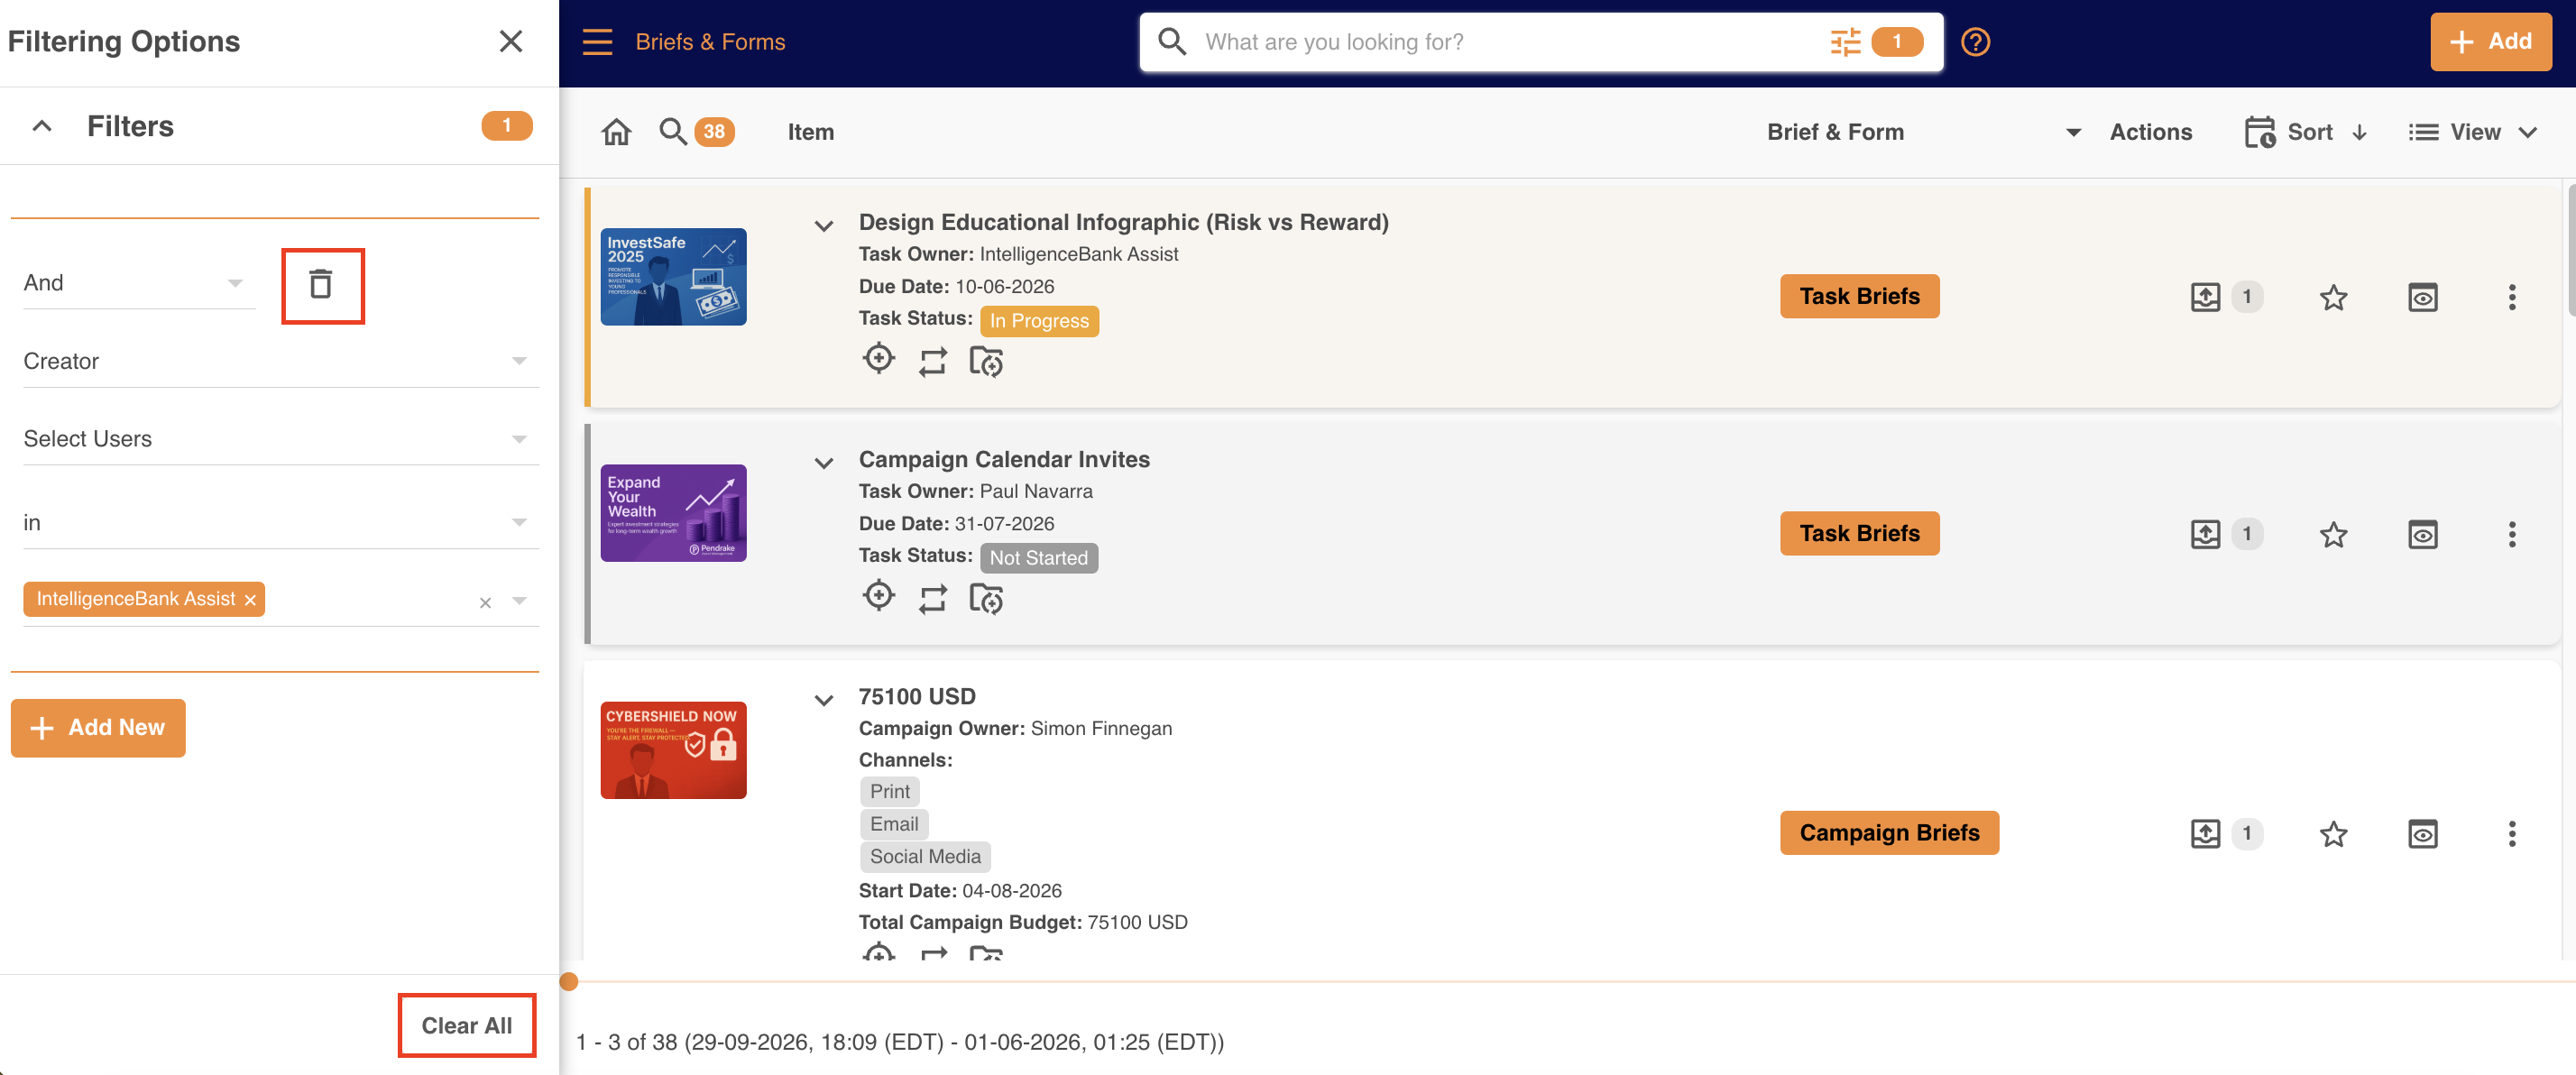
To remove a filter, simply click the Delete icon (the bin) and confirm the action. To remove all your current filters, click the Clear All button that appears at the bottom of the page.
Default Filters
When you enter a database and open the filter panel, the default filters will be any select or lookup field from within the form. Staged databases also have the option to filter by Staged.
Each user can also create their own, default filter view. Once saved, the custom filters selected will be applied by default whenever they open the database. This makes it easy for users who regularly need or prefer to view certain records consistently.
To save a new default, simply add the relevant filters, then click the Default checkbox at the bottom left of the side panel.
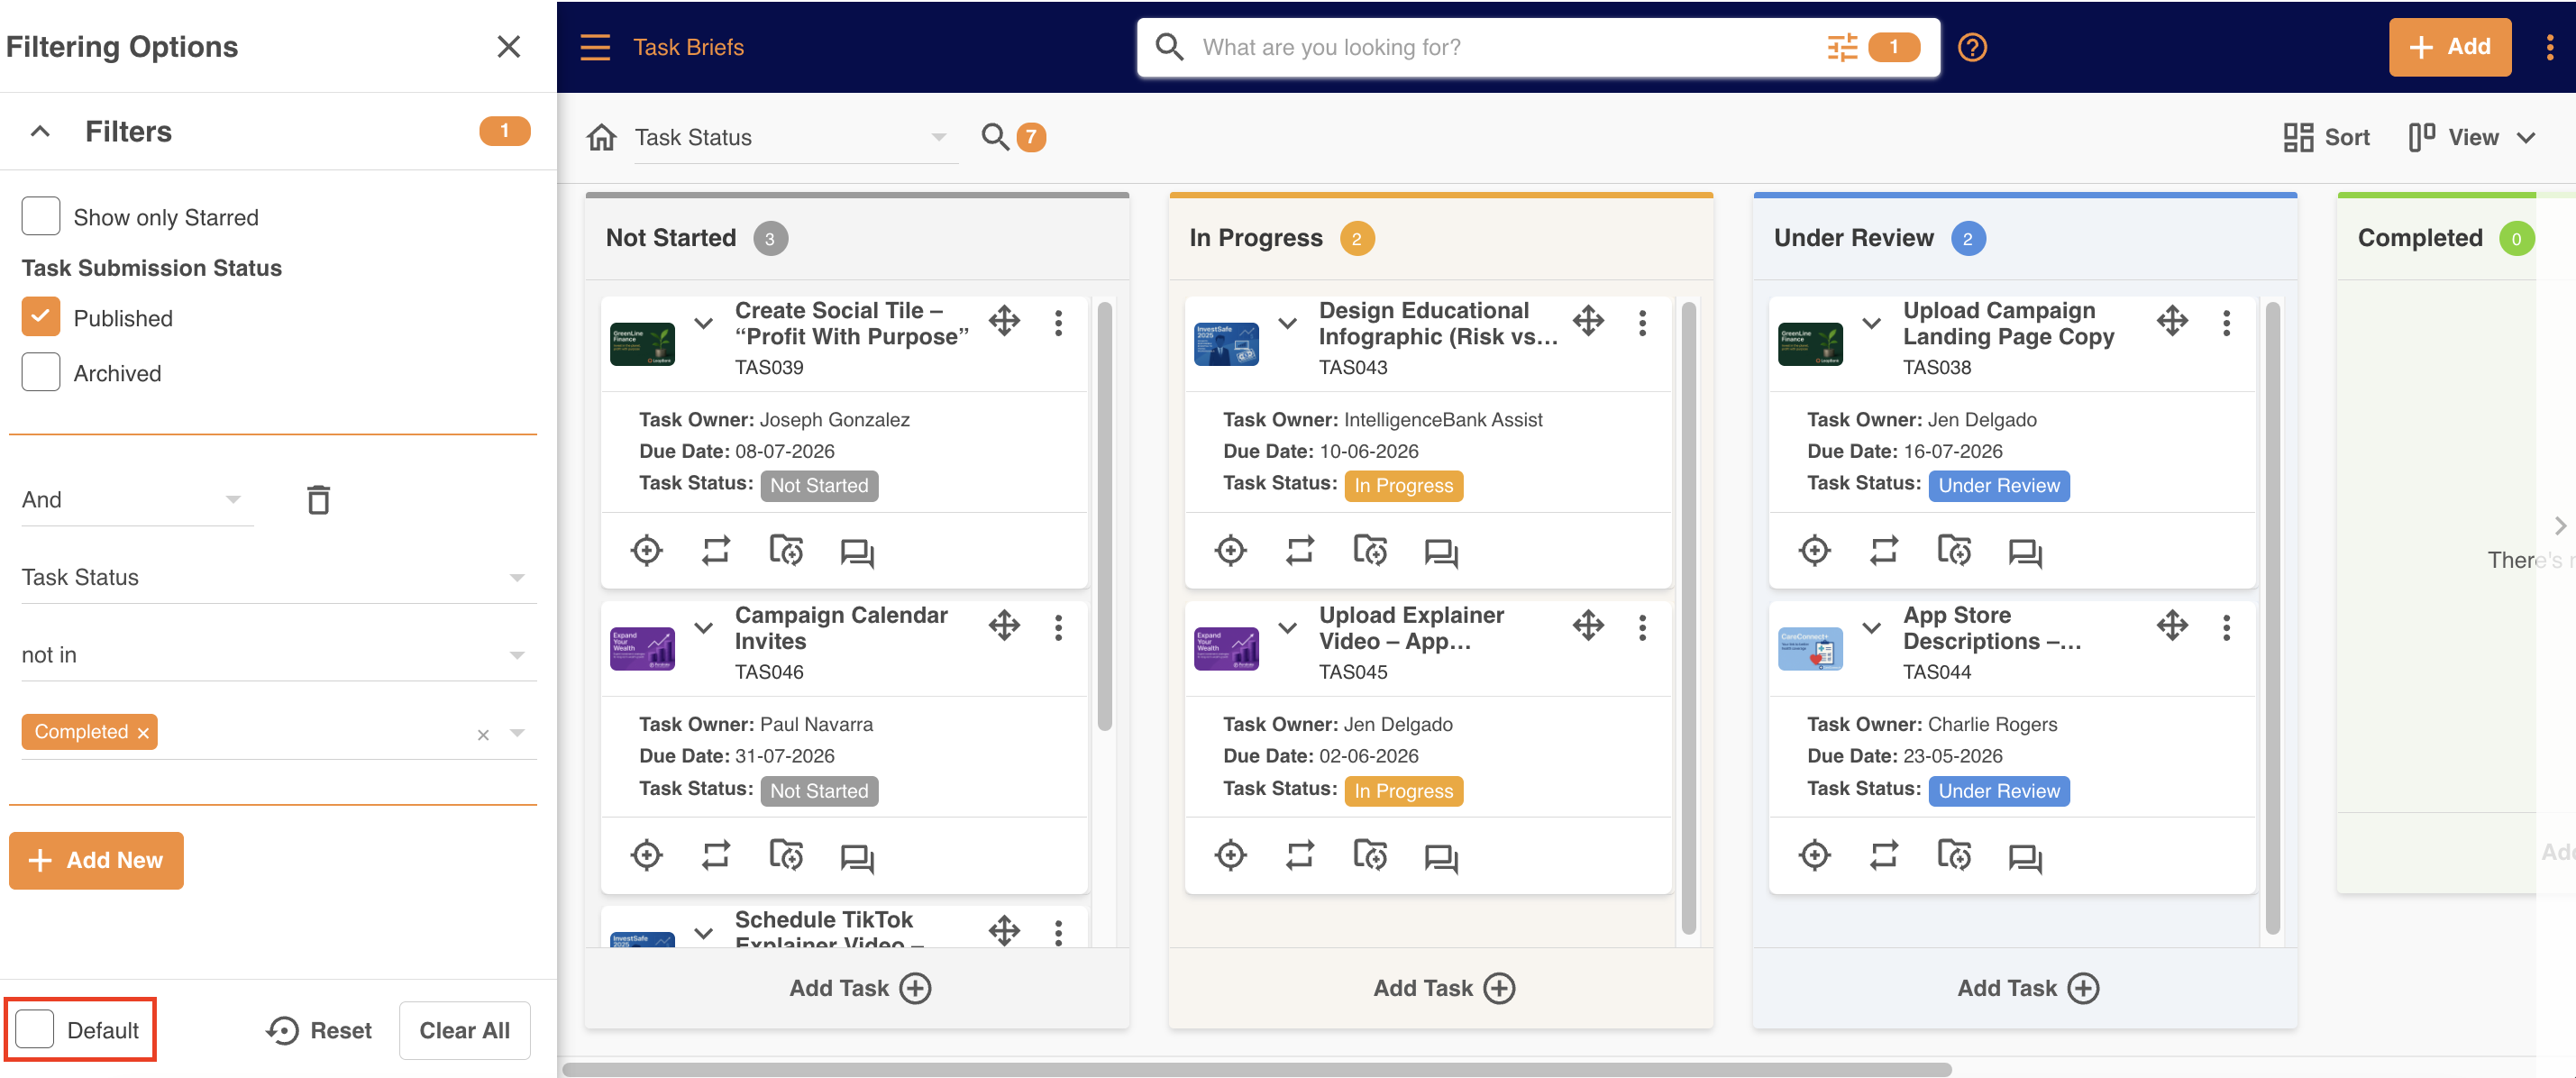
Users can still change their filters at any time, removing or adding values or fields as required, but can always go back to the default view by clicking the Reset button.
File Approval-Related Filters
When enabled, you can also filter by the approval status of files within records.
To read more about this option, click here
Please note that the 'Database' and 'Records' terminology referenced above may appear differently in your platform as these are customisable terms.
If you have any further questions please contact your Customer Success Manager.
Was this article helpful?
That’s Great!
Thank you for your feedback
Sorry! We couldn't be helpful
Thank you for your feedback
Feedback sent
We appreciate your effort and will try to fix the article